
Grout might be the most overlooked surface in any Australian home. It sits quietly between your tiles, collecting dirt, moisture, and bacteria while everything else gets cleaned around it. If your tiles look dull even after regular mopping, the grout is almost always the reason.
This guide explains exactly how to clean grout properly, how often you should do it, and the most effective methods to keep it looking fresh year-round.
What Is Grout and Why Does It Get So Dirty?
Grout is a cement-based or epoxy-based filler used to seal the gaps between tiles. It holds tiles in place, prevents moisture from seeping underneath, and gives tiled surfaces a clean, finished look.
In most Australian homes, grout is found in bathrooms, kitchens, laundries, and outdoor tiled areas.
The main issue is that grout is porous. Cement-based grout in particular acts like a sponge, absorbing:
- Soap scum
- Cooking grease
- Dirt and dust
- Moisture and bacteria
Over time, these particles oxidise and cause grout to turn from bright white or beige into dull grey or brown.
Regular mopping only cleans the tile surface, not the grout lines. That is why grout often looks dirty even in a “clean” room.
How Often Should You Clean Grout?
Cleaning frequency depends entirely on location and usage. High-moisture areas need far more attention than low-traffic zones.
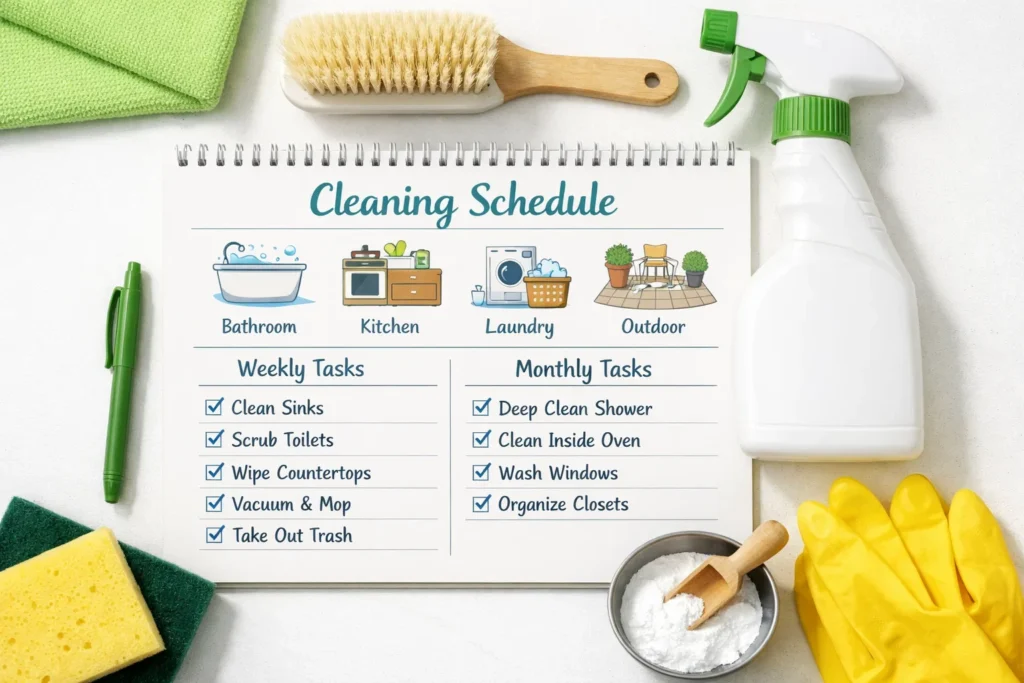
Here is a practical Australian cleaning schedule:
- Bathroom and shower grout: Weekly cleaning to prevent mould and soap scum
- Kitchen grout: Wipe weekly, deep clean monthly
- Laundry grout: Clean every 2 weeks and check for mould
- Hallways and living areas: Deep clean every 1–3 months
- Outdoor grout: Clean seasonally or after heavy weather
Sticking to a routine prevents grime from hardening into the grout, making cleaning much easier in the long run.
Best Way to Clean Grout: Methods That Actually Work
There is no shortage of advice online about cleaning grout, but not all of it is practical or effective for Australian conditions. Hard water is common across many parts of the country, which means mineral deposits build up faster than they might elsewhere. The best way to clean grout accounts for both the type of grime and the type of grout you are dealing with.
Always start with the gentlest method and work your way up to stronger solutions only if needed. Aggressive chemicals used too frequently can erode the grout over time and cause more damage than the dirt itself. A little patience and the right technique go further than harsh products.
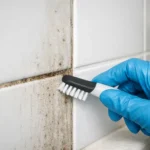
Method One: Warm Water and a Stiff Brush
This is the simplest and safest method for light dirt.
Steps:
- Wet grout lines with warm water
- Scrub using a stiff grout brush
- Work in small back-and-forth motions
- Wipe away residue with a clean cloth
- Allow to dry fully
This method is perfect for weekly bathroom cleaning and takes less than 10 minutes.
Method Two: Baking Soda and White Vinegar
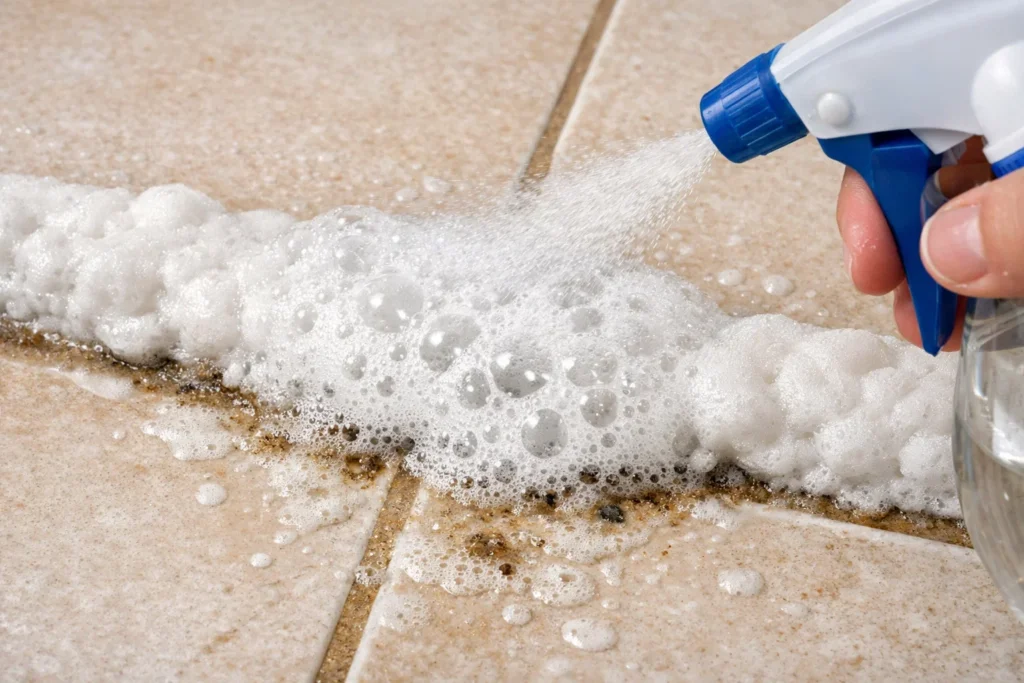
For moderate staining or built-up grime, this classic combination works well.
Steps:
- Mix baking soda with water to form a paste
- Apply directly to grout lines
- Let it sit for 5–10 minutes
- Spray lightly with white vinegar
- Allow fizzing reaction to lift dirt
- Scrub and rinse with warm water
This method is effective for kitchens and bathrooms but should NOT be used on natural stone tiles due to acidity.
Method Three: Hydrogen Peroxide for Stubborn Stains
When grime becomes deeply embedded, hydrogen peroxide is the next step.
Steps:
- Apply hydrogen peroxide directly to grout
- Let it sit for 10–15 minutes
- Scrub with a grout brush
- Rinse thoroughly
For tougher stains, mix hydrogen peroxide with baking soda to create a thick paste. This works especially well on mould-stained shower grout.
Always ventilate the room properly when using this method.
Grout Cleaning Tips Every Australian Homeowner Should Know
Beyond the cleaning methods themselves, there are a handful of practical tips that make the whole process easier and more effective. These are the kinds of insights that come from experience rather than the back of a product label.
Grout cleaning tips that make a real difference:
- Always work in small sections rather than trying to clean an entire bathroom floor at once.
- Use a dedicated grout brush rather than an old toothbrush as the wider head covers more ground efficiently.
- Dry the area thoroughly after cleaning to prevent moisture from immediately reintroducing mildew.
- Apply a grout sealer once a year to protect clean grout from absorbing new staining.
- Never use steel wool or metal scrapers on grout as they leave behind rust particles that cause further staining.
- Test any new cleaning product on a small hidden section of grout before applying it broadly.
Grout Cleaning Products Worth Using
| Product | Best For | Notes |
| Baking soda paste | General discolouration | Safe, affordable and effective |
| Hydrogen peroxide | Mould and deep staining | Ventilate the area well |
| pH neutral tile cleaner | Regular maintenance | Safe for all grout types |
| Commercial grout cleaner | Heavy buildup and restoration | Follow dilution instructions carefully |
| White vinegar spray | Light soap scum | Avoid on natural stone surfaces |
Grout in Different Areas of the Home
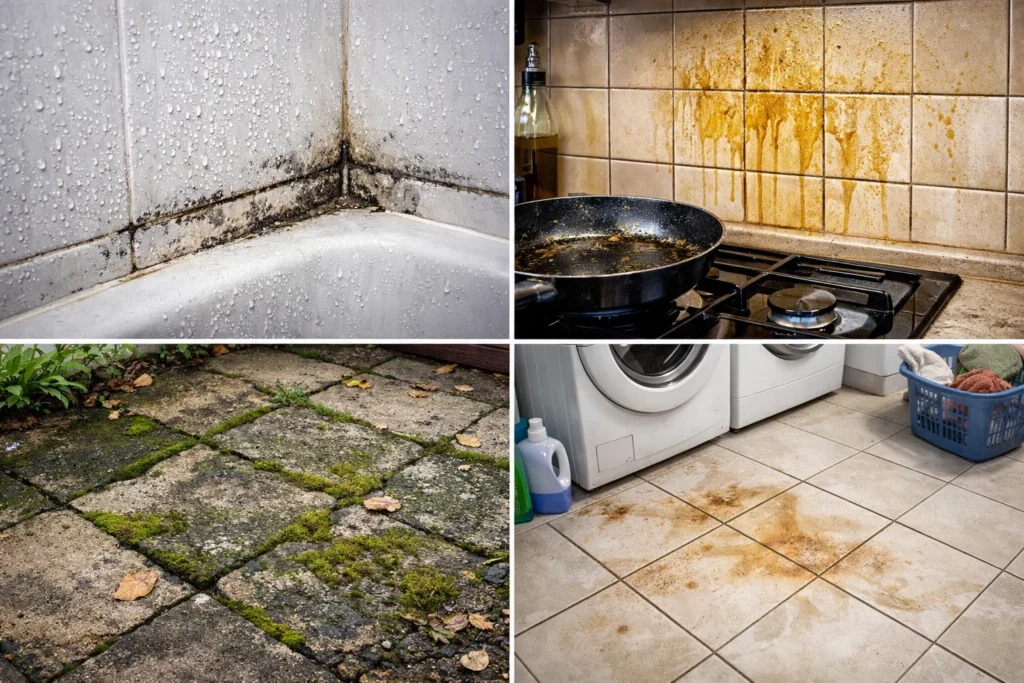
Not all grout behaves the same way because the conditions in each room are so different. Bathroom grout faces constant moisture and soap residue. Kitchen grout deals with cooking oils and food splatter. Outdoor grout battles UV exposure, rain, moss and general weathering.
Understanding the specific challenges in each area helps you choose the right product and technique. A one size fits all approach often means you are either over cleaning some areas or under cleaning others, both of which create problems over time.
Room by room grout care summary:
- Bathroom shower grout needs weekly scrubbing and monthly deep cleaning with hydrogen peroxide.
- Kitchen splashback grout benefits from a quick wipe after cooking and a monthly baking soda treatment.
- Laundry grout should be checked for mould fortnightly and sealed annually.
- Outdoor grout needs a seasonal scrub with a stiff brush and a pH neutral outdoor tile cleaner.
When to Call in the Professionals
There comes a point where DIY grout cleaning reaches its limit. If your grout has turned black from deep set mould, if sealer has been applied over dirty grout and is now peeling, or if large sections of grout are crumbling and cracking, it is time to bring in professional help.
Professional cleaners have access to commercial grade steam cleaning equipment, high pressure grout cleaning tools and restoration products that are simply not available over the counter. They can often restore grout that homeowners have given up on, saving the cost of a full retile.
For Melbourne homeowners dealing with heavily soiled tiles and grout throughout the home, Deep Cleaning in Melbourne services provide a thorough, top to bottom clean that goes well beyond what a standard mop and bucket can achieve. For healthcare facilities and clinics where hygiene standards are non-negotiable, Clinic Cleaning Services in Melbourne ensure grout and tile surfaces meet the strictest cleanliness requirements.
For ongoing home maintenance, Regular House Cleaning Services in Melbourne keep on top of grout and tile care so you never have to face a major restoration job. Those in strata living will find that Apartment Cleaning Service in Melbourne covers everything from bathroom grout to kitchen tiles with professional grade results.
How to Keep Grout Clean for Longer
Prevention is always easier than restoration. Once you have put in the effort to get your grout looking clean again, a few simple habits will keep it that way for much longer. These steps cost almost nothing in time or money but make a genuine long term difference.
Habits that protect clean grout:
- Squeegee shower walls and floors after every use to remove excess moisture.
- Run the bathroom exhaust fan during and for fifteen minutes after showering.
- Apply a quality grout sealer every twelve months in wet areas.
- Wipe down kitchen tiles after cooking to stop grease from settling into grout lines.
- Place mats at entry points to reduce the amount of dirt tracked across tiled floors.
Conclusion
Clean grout transforms the entire look of a tiled surface. It is one of those details that most people only notice when it is wrong, but when it is right, the whole room feels cleaner and brighter. A consistent routine, the right products and a bit of elbow grease are all it takes to keep your grout in top condition year round.
Whether you are tackling a bathroom renovation clean, a kitchen refresh or just trying to stay on top of regular home maintenance, the methods and tips in this guide give you everything you need to get the job done properly.
If you want professional results without the effort, make a smart move and connect with the team at Beaurex Cleaning. They deliver expert cleaning across Melbourne homes, clinics and apartments so your tiles and grout always look exactly as they should.
FAQs
1. How often should I clean grout in high-traffic areas?
High-traffic areas like kitchens and bathrooms should be lightly cleaned weekly, with a deeper scrub done at least once a month.
2. What’s the safest way to clean coloured grout?
Stick to pH neutral cleaners and soft brushes, as harsh chemicals can fade or discolour coloured grout over time.
3. Can dirty grout affect indoor hygiene?
Yes, dirty grout can trap bacteria, mould, and moisture, which can impact overall bathroom and kitchen hygiene if left untreated.
4. Why does grout stay dirty even after mopping?
Because mopping only cleans tile surfaces, grout lines stay porous and continue absorbing dirt, grease, and moisture.
5. Can steam cleaning damage grout?
Not usually, but repeated high-pressure steam on weak or old grout can cause it to loosen or crack over time.